Pistol Phase 3: Crisis Management & Dynamic Engagement
When Threats Multiply and Light Disappears, Your Training Takes Over
Phase 1 gave you fundamentals. Phase 2 taught you to function when things go wrong. Phase 3 is where you learn to make decisions under stress, engage multiple threats, and operate in low-light conditions — the reality of how defensive encounters actually unfold.
This phase introduces the techniques that separate reactive shooting from intentional defense. You’ll work on presenting from concealment, scanning and assessing rapidly, and engaging threats that aren’t standing still at static targets. The Harries Flashlight Technique, the Mozambique Drill (failure-dummy-failure), and multi-threat engagement protocols all come into play here.
Everything is built on the foundation of Phases 1 and 2. None of this works if the foundation isn’t solid.
Schedule Your Free Consultation Verify your placement and equipment before enrollment.
Why Shorter, Frequent Sessions Work Better
Scheduled once per week for six weeks — 10 hours total.
| Session | Format | Duration | Focus |
|---|---|---|---|
| Day 1 | Indoor Dry Fire | 1.5 hours | Review |
| Day 2 | Indoor Dry Fire | 1.5 hours | New skill building |
| Day 3 | Live Fire Range | 2.0 hours | Application |
| Day 4 | Indoor Dry Fire | 1.5 hours | New skill building |
| Day 5 | Indoor Dry Fire | 1.5 hours | Repetition |
| Day 6 | Live Fire Range | 2.0 hours | Application |
Why six sessions instead of one weekend? Repetition spaced over time builds lasting muscle memory. You practice, rest, return, and build on what you learned. This approach produces shooters who can actually perform when it matters — not just during a single intensive block. [Learn More About Our Scheduling Philosophy]
What You’ll Refine
Phase 3 opens with a full review of every Phase 2 concept — safety, accuracy principles, malfunction clearance, tactical reloads, and shooting positions. From there, we layer on the skills that prepare you for real defensive scenarios.
Presentation from Concealment: Drawing from under clothing or cover without compromising safety or accuracy. This is a fundamentally different skill than drawing from an open holster, and it requires dedicated practice.
Low-Light Engagement: Using the Harries Flashlight Technique (developed by Michael Harries and used by law enforcement agencies worldwide) to identify and engage threats when visibility disappears. Lighting a room is not the same as lighting a target.
Multi-Threat Scenarios: Learning to prioritize which threat to engage first, how to manage target transitions, and when to shift focus between attackers.
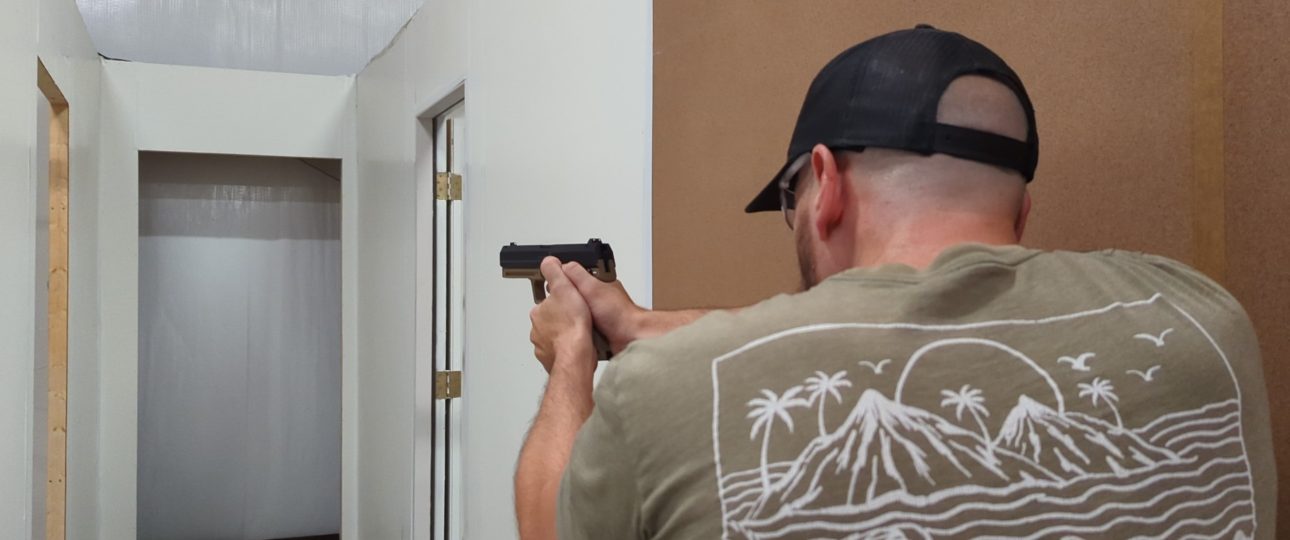
Search and Clear Protocols: Moving through spaces with intention and control, not panic. This is about situational dominance, not wandering blind.
Decision-Making Under Stress: The Mozambique Drill teaches you to stop an immediate threat while maintaining accuracy. It’s not about firepower — it’s about efficiency.
Who Should Take This Phase
- Phase 2 graduates ready to expand beyond single-target, daylight shooting
- Defensive-minded carriers who carry concealed and want to train for what their life actually looks like
- Anyone concerned about home defense scenarios where light is limited and threats may emerge unexpectedly
- Shooters who want to understand how to handle multiple attackers — legally and tactically
Placement is determined through your Free Consultation. We’ll verify your current skill level and confirm you’re entering at the right point.
Required Equipment for Training
| Item | Requirement |
|---|---|
| Pistol | Reliable, functional semi-automatic or revolver |
| Holster | Approved, retention-capable holster (inside or outside waistband) |
| Magazines | Minimum of 2 |
| Magazine Holder | Dedicated mag carrier or pouch |
| Gun Belt | Sturdy belt designed for firearm carry |
| Snap Caps | Pack of 5–10 for dry-fire drills |
| Ammunition | 200 rounds (most students use between 160 and 200) |
| Additional | High-quality flashlight compatible with your carry setup |
Don’t have equipment yet? Register for Pistol Basics – Choosing Your Ideal Firearm first. We’ll guide you through selecting a handgun and gear that fits your hand, lifestyle, and budget — so you buy once and buy right.
Prerequisites
Completion of Practical Pistol Course Series: Phase 2.
There are no exceptions to this requirement. Phase 3 builds directly on Phase 2 skills, and skipping them compromises both your safety and your success in this course.
If you’ve trained extensively elsewhere, you may qualify to enter Phase 1 or Phase 2 directly with instructor approval during your Free Consultation — but you cannot skip phases within the series.
Still Have Questions?
I carry concealed. Is this necessary for me? Yes. Drawing from concealment is a different skill than drawing from an open holster. If you carry daily, you should train from concealment.
Do I need a weapon-mounted light? A strong handheld light is sufficient for Phase 3. Weapon-mounted lights are valuable, but they’re an advanced consideration we discuss during training. Come with what you have, and we’ll help you plan your next upgrade if needed.
Is searching and clearing my house dangerous? Only if done poorly. We teach structured, repeatable protocols that minimize exposure and maximize control. The goal isn’t to turn you into a SWAT operator — it’s to give you a method when seconds count.
What about legal implications of multiple threats? We train the tactical side. The legal decisions around using deadly force are yours to make, and we expect students to get their legal education through a Texas License to Carry course and their legal advice from an attorney. What we teach is how to handle the tactical problem — the judgment about when and whether to act is yours.
Ready to Train for Real Scenarios?
Phase 2 made you resilient. Phase 3 makes you decisive.
Schedule Your Free Consultation
Urban Defense Academy — Liberty Hill, Texas “When survival is the only option!”